Set Up DigitalOcean Server Correctly for Binom Tracker
If anyone follows me around on the Internet you will know that I highly recommend Binom Tracker for tracking your affiliate marketing media buys.
Compared to cloud-hosted trackers, Binom is considerably cheaper because you aren't nickel and dimed for everything extra you might need (events, custom domains, high-quality support, etc.).
You just simply pay a monthly license fee ($69/month - $99/month depending on how long of a license you buy) and you have unlimited everything.
Today I'm going to show you how to set up a DigitalOcean server (aka droplet) for Binom tracker to run on, which is actually easier than you might expect.
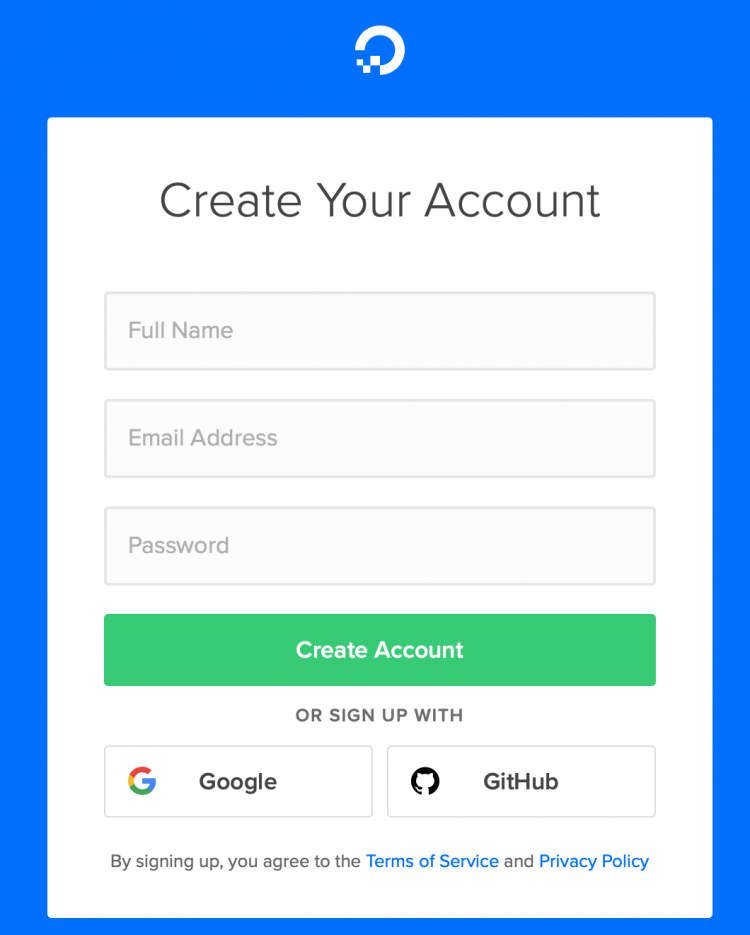
Step 1: Create a DigitalOcean Account
The first thing you need to do is sign up for DigitalOcean. If you sign up for a DigitalOcean account through this link, you will get $100 added to your account for free.
Follow all of the steps in the account creation process, such as creating a password, adding a payment method, etc.
Step 2: Create a New Project
Next, we want to create a new project within your DigitalOcean account. You can name it however you want, but below you will find an example of what it might look like:

On the 2nd step of the project creation wizard it'll most likely ask if you want to move resources. You can just skip this part, as you don't need to move anything.
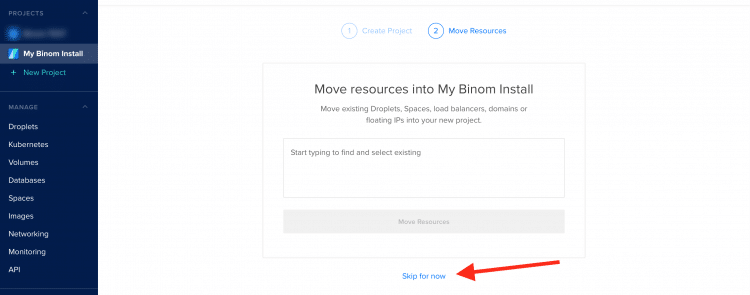
Now, your project should be fully created.
Step 3: Create a Digital Ocean Server AKA Droplet
Within your project you will want to create a DigitalOcean server/droplet. A Droplet is essentially a server.
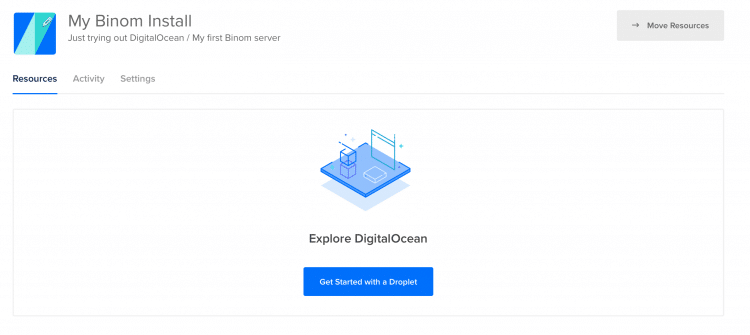
After clicking the button to create a Droplet you will have a number of options that you can select.
The first part is selecting an operating system. For Binom to work you will need to install Ubuntu (18.04 or higher) or Debian (9.x or higher). By default, DigitalOcean should automatically select a compatible OS and version.
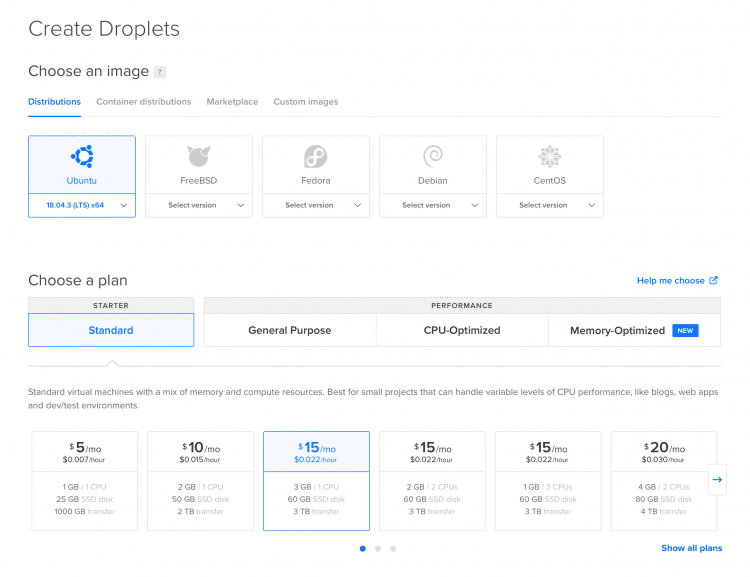
For the plan you can just pick "Standard". This won't actually affect your server performance; it will just affect which servers show at the bottom of the above screenshot.
There are 3 DigitalOcean server plans that you might pick depending on how much traffic you plan to send per day:
- 200k clicks per day = 3GB/1CPU for $15/month
- 500k clicks per day = 4GB/2CPU for $20/month
- 700k clicks per day = 8GB/4CPU for $40/month
If you intend to send more traffic than this per day you'll need to open a ticket with DigitalOcean to verify your account to get access to more powerful servers.
You can start with the smallest server (3GB/1CPU) and later resize your server when you intend to send more traffic.
In the next part of the Droplet creation you will be asked to select your server region. It's suggested that you pick a region that is closest to the countries you are going to be running affiliate offers in.
For authentication, select "One-time password".
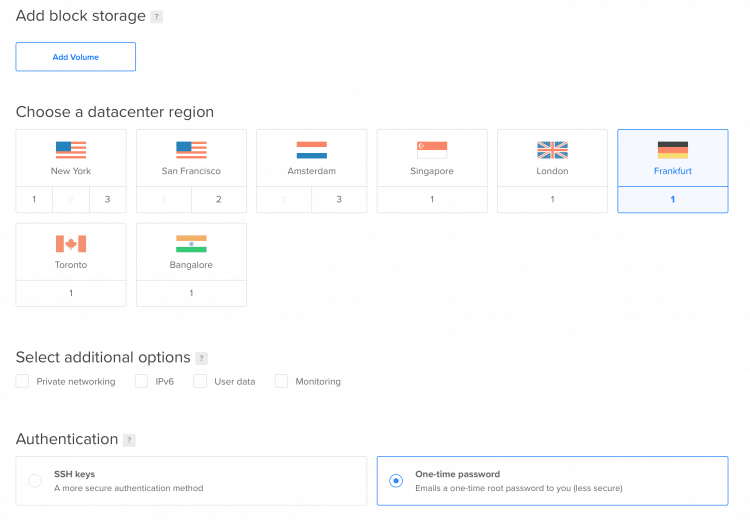
For the final part of the Droplet creation you can just leave the rest of the settings default.
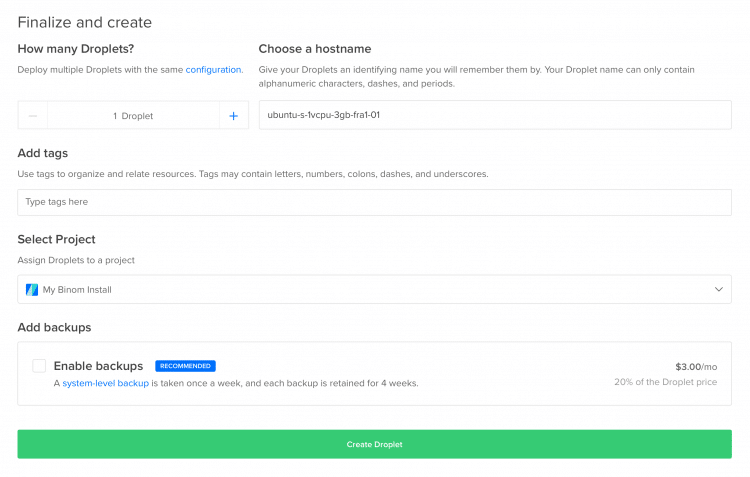
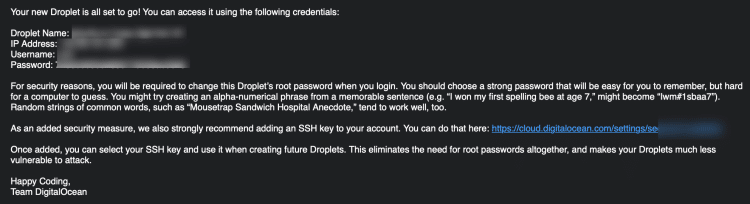
Click "create droplet". Your server/droplet will now be created and you should receive an email with the information to log in within a couple of minutes. YOU DON'T NEED TO LOG IN TO YOUR SERVER AT ALL.
Step 4: Point Your Domain to Your Server's IP
You need a domain so that you can log into your Binom tracker once it's installed. I purchase my domains at Namecheap, so that's what I'll be using for this example.
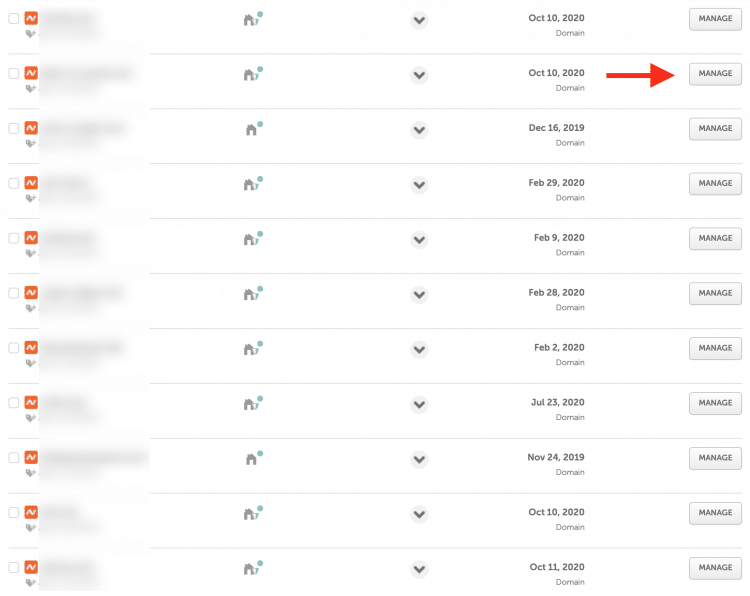
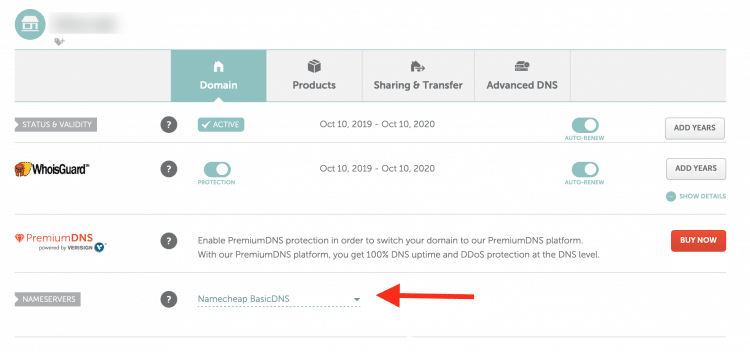
Log into Namecheap, find your domain, and click "Manage" to go into the domain settings.
On the "Domain" tab, make sure your "Nameservers" are set to "Namecheap Basic DNS" (this should be set like this by default).
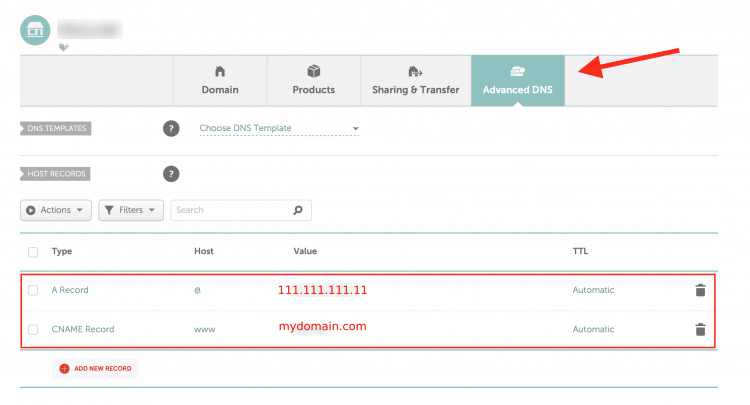
Next, go to the "Advanced DNS" tab. Add new "Host Records".
- Make an "A Record" with the host "@" that points to the IP address in the email from DigitalOcean.
- Make a "CNAME Record" with the host "www" that points to the name of your domain.
You can remove any of the other "Host Records" that may have already been there.
Step 5: Contact Binom's Live Chat Support to Install Binom for You
If you're feeling technical you can install Binom yourself, but it's highly recommended to just contact Binom's support to do it for you.
They will probably want to know your DigitalOcean server/droplet's IP address, username, password, the domain name (from previous step), and what timezone you want the tracker to be in by default.
After supplying them with that information they will install Binom for you usually within 1 hour and email you with the login information.
Now, Binom should be ready for you to use!