Create and Install the Facebook Pixel Using Google Tag Manager
Facebook can be a powerful traffic source to promote affiliate offers, but you have to stay compliant and use all of the tools Facebook gives you to be successful on their ad platform.
One of those such tools is the Facebook Pixel.
The Facebook Pixel is a tracking script you implement on your landing pages to measure the effectiveness of your advertising by understanding the actions visitors take on your website.
You can use it to track various events that might take place on your website, such as viewing your thank you page after submitting a lead form or clicking on the phone number from your lander.
Today I'm going to show you how to install and implement the Facebook Pixel using Google Tag Manager. In my opinion, it's one of the easiest ways to install a script sitewide and it will help you create a custom event later on, like when a phone call is placed.
Step 1 - Create Your Facebook Pixel in Facebook Business Manager
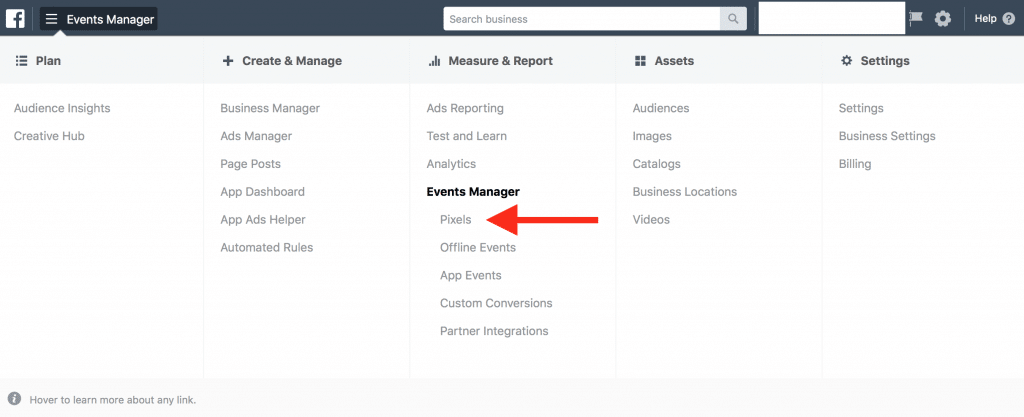
From within your Facebook Business Manager Account, click the top left menu button (with 3 lines on it) and select "Pixels".
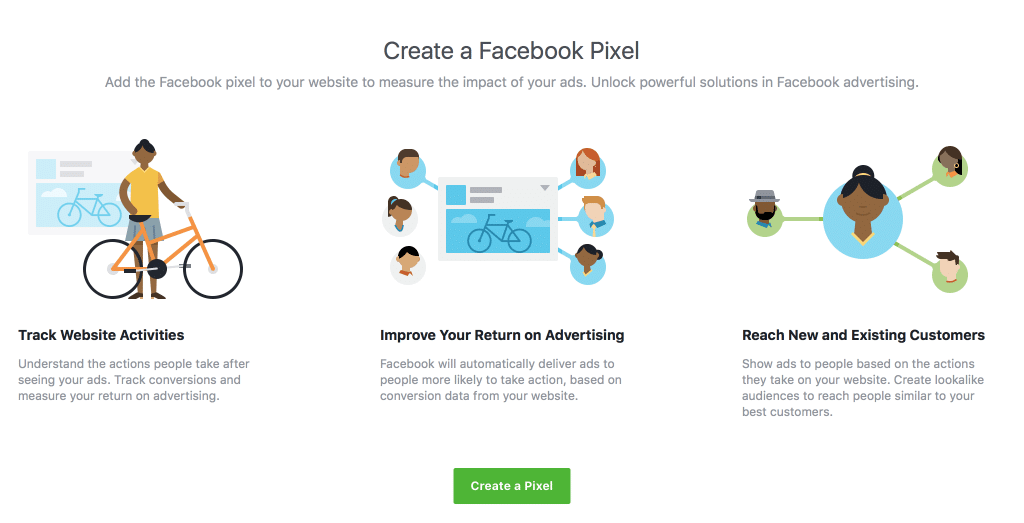
Click the big green button that says "Create a Pixel".
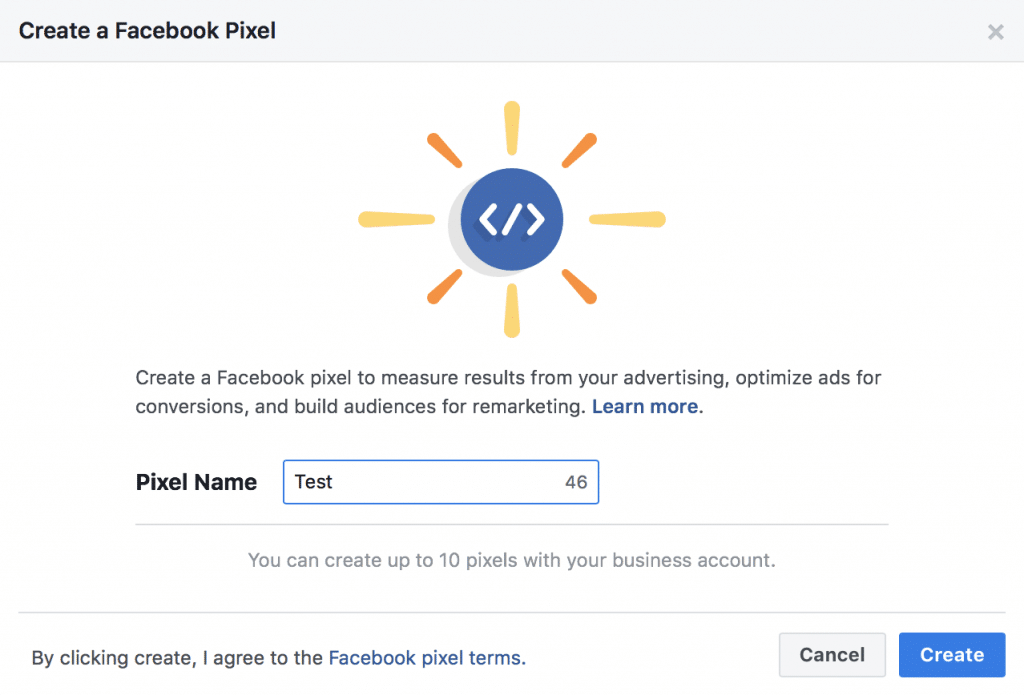
Give your new FB Pixel a name and click "Create".
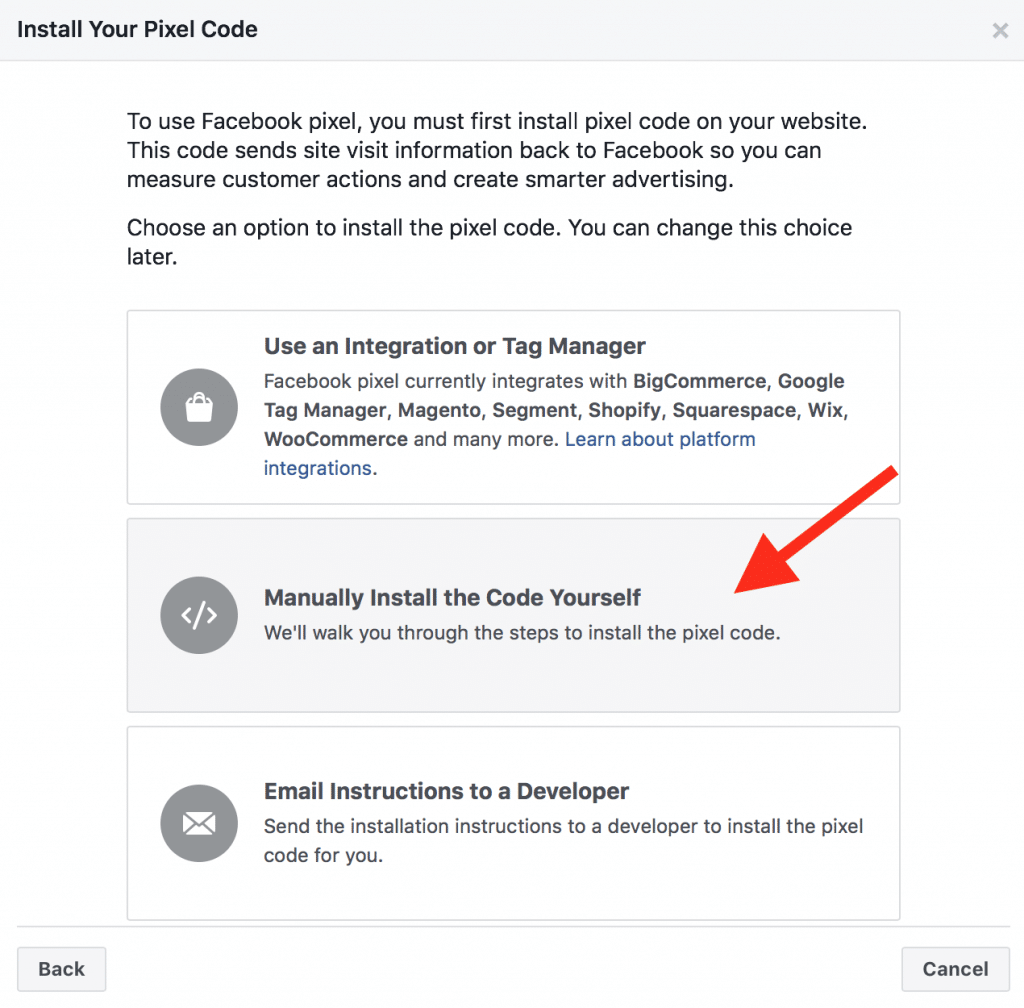
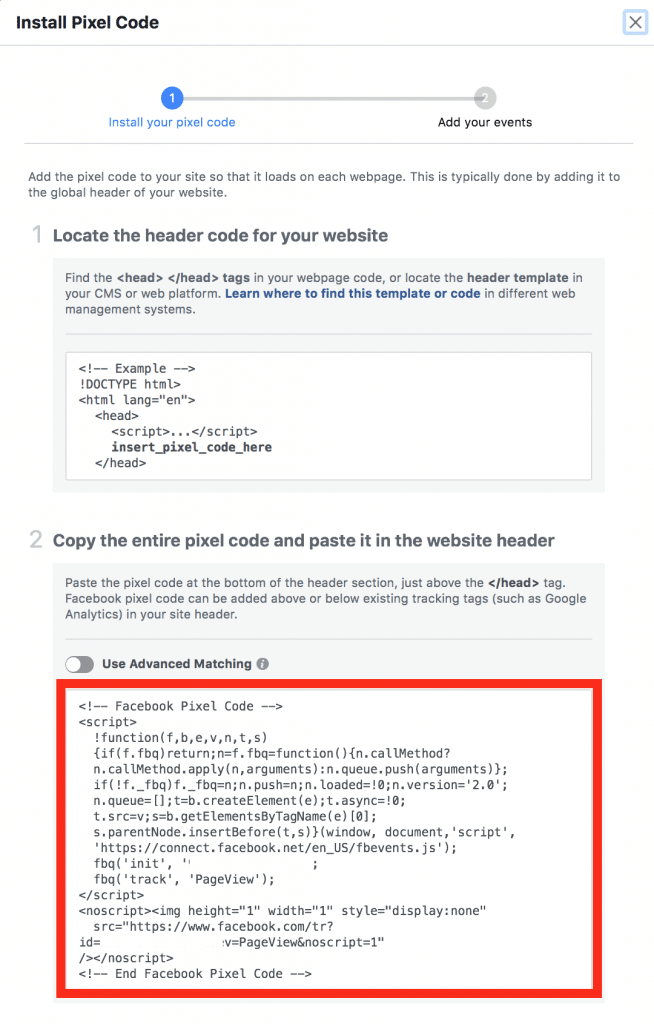
Select "Manually Install the Code Yourself".
Copy the entire pixel code to your clipboard.
Leave this page open.
Step 2 - Create Custom HTML Tag in Google Tag Manager
Inside your Google Tag Manager account create a new "Custom HTML" tag. Paste your Facebook Pixel code from your clipboard into the box. Set the firing trigger to "All Pages".
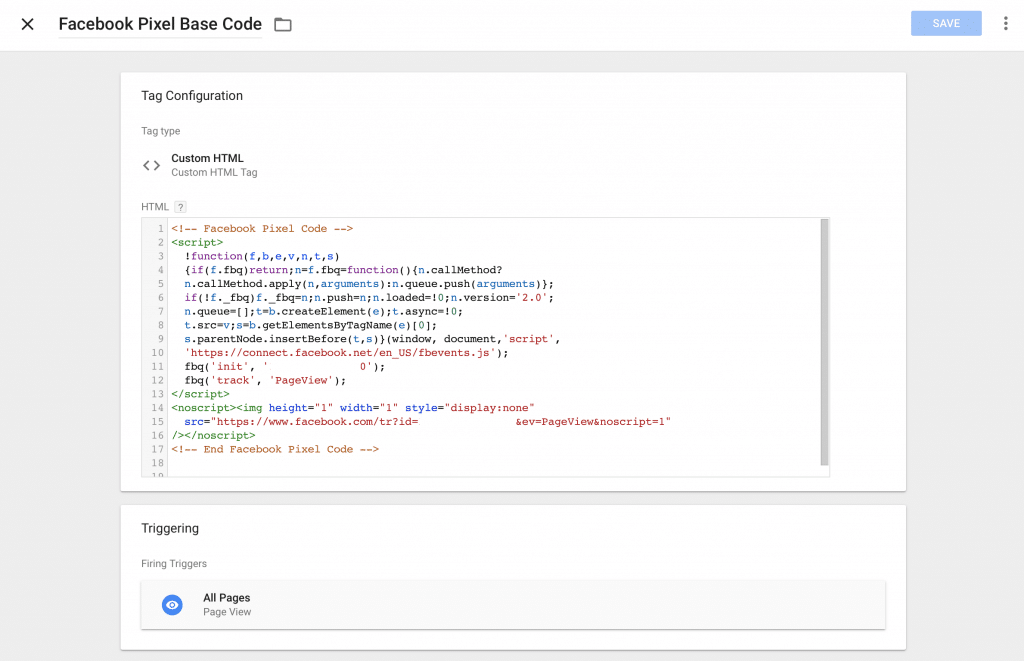
Click "Save" and then publish your Tag Manager changes.
Your Facebook Pixel should now be installed on every page throughout your website using Google Tag Manager.
Step 3 - Test If You Implemented Your Facebook Correctly
Go back to Facebook where you copied your Pixel code from. Scroll down and you should see step 3.
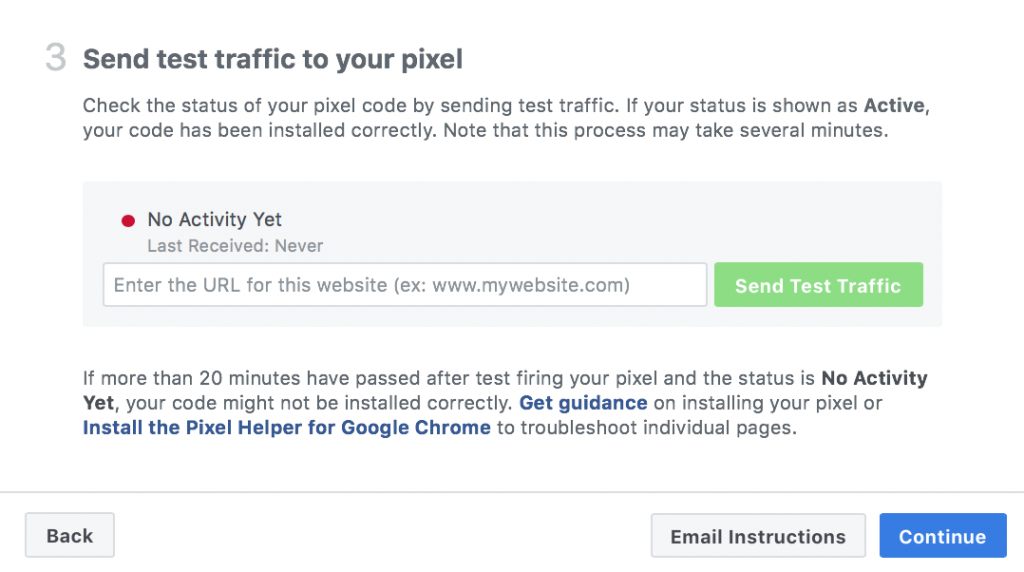
Enter the URL of your website and Facebook will redirect you there as "test traffic".
The status button should change from red to green within seconds. If it doesn't make sure you've followed all of the steps above and try again.
NEXT: How to Track Phone Call Conversions Using the Facebook Pixel